

DIY Terrazzo Tiles: Home Renovation Diaries #2
If you read the first instalment of the Home Renovation Diaries blog series, you might recall our search for terrazzo floor tiles. While scouring Pinterest and trying to find something to suit the contemporary, fun look that we like, we discovered that it is easier said than done. Those gorgeous, colourful terrazzo images you see online..? It seems that they haven’t made their way into what’s trending in Perth at the moment!
Something I began looking into while we were searching tile stores was how to DIY terrazzo flooring/tiles. Not only from a cost-saving point of view, but also as I thought it would be something fun to learn! My current goal is this: Learn more about how to make terrazzo and keep making tiles, and if I feel confident enough in my abilities I will DIY terrazzo the whole floor in our sleep-out room… However, even if I don’t end up doing the floor, it’s still really fun to do, and since posting about it on my Instagram and TikTok I have had lots of questions from people wanting to know more about the process! So that is what I will be sharing with you today… Lets have some fun!
@katehannah Making my own colourful terrazzo tiles – this is my first attempt! Here’s how I did it… ?✨ ##homerenovation ##perth
♬ Can’t Take My Eyes Off You – Aiivawn Lofi Remix
What you will need:
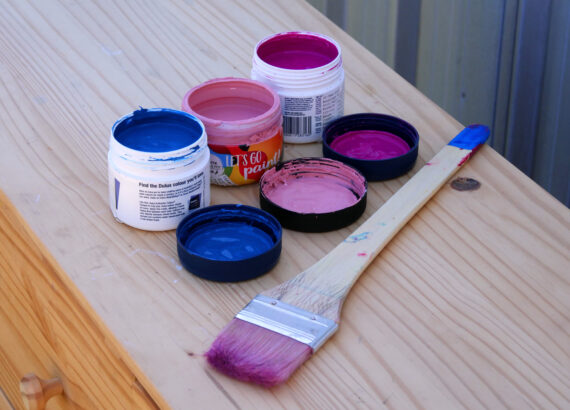
- Bag of cement (I chose white cement for my tiles, but you can choose your favourite!)
- Sand (you can get a variety of colours, so pick what you like!)
- Various stones and pebbles (you can also use glass stones in your mix like I did)
- A length of wood, to cut and make your frames
- Screws or nails, to put your frames together
- Baking paper
- Dust mask
- Eye protection
- A tub to mix everything in
- Something to stir your cement mixture (I used a scrap length of wood… Would not recommend, it hurt my hand a bit, haha!)
- Paving sealer (I used an oil-based one)
- A paintbrush
Tools required:
- Drill or hammer, for putting your frames together
- Saw, for cutting the wood to make your frames
- Grinder, with diamond grinding wheel
- Dust extractor (optional, but it helps to keep nasty dust contained!)
- A folding workbench
1. Create your wooden frame/frames: These are what you will use to cast your tile into shape. You can make these whatever size you would like, for mine I made them 25cmx25cm. Cut your wood to length, and then nail or screw them together. You don’t need to be super neat with these as they are just frames to keep the concrete mixture in place while it dries – Nothing fancy!
2. Mix your cement, sand, and aggregates according to the ratios given on the cement you purchased. If your cement gives different options, choose the ratio suitable for paving.
3. Add extra aggregates to your mix if you would like to. I did this as I wanted my tiles to have lots of pretty pieces throughout!
4. In the area where you will leave your tiles to dry, lay down some baking paper. Then place your wooden frames on top of the paper sheets. The baking paper will keep the cement from sticking to the surface below. I recommend choosing an area such as paving or a poured cement floor in your garage/shed, somewhere flat, undercover and out of the way where your tiles can be left to dry safely (and also not risking any accidental leakage onto carpet or other nice flooring!).
5. Pour your cement mixture into the frames, working it into the corners as much as possible. Remember not to overfill your frames as you will end up with a tile that is too thick for what you want! I recommend filling it about 3cm deep, that leaves you room to grind it down and still have a 2-2.5cm thick tile.
6. Allow your tiles to dry in accordance with the directions on your cement (I left mine overnight, and then an additional half a day).
7. Once your cement is dry, push your tiles out of the wooden frames, and remove the baking paper.

8. Clamp your tile into your folding workbench, to hold it steady (see the above image for a peek at my workbench set up).
9. IMPORTANT: Put on your eye protection and dust mask, and if you have a dust extractor connect it to your grinder! Dust from cement and stone is very dangerous to inhale, so you’ve got to be safe 🙂
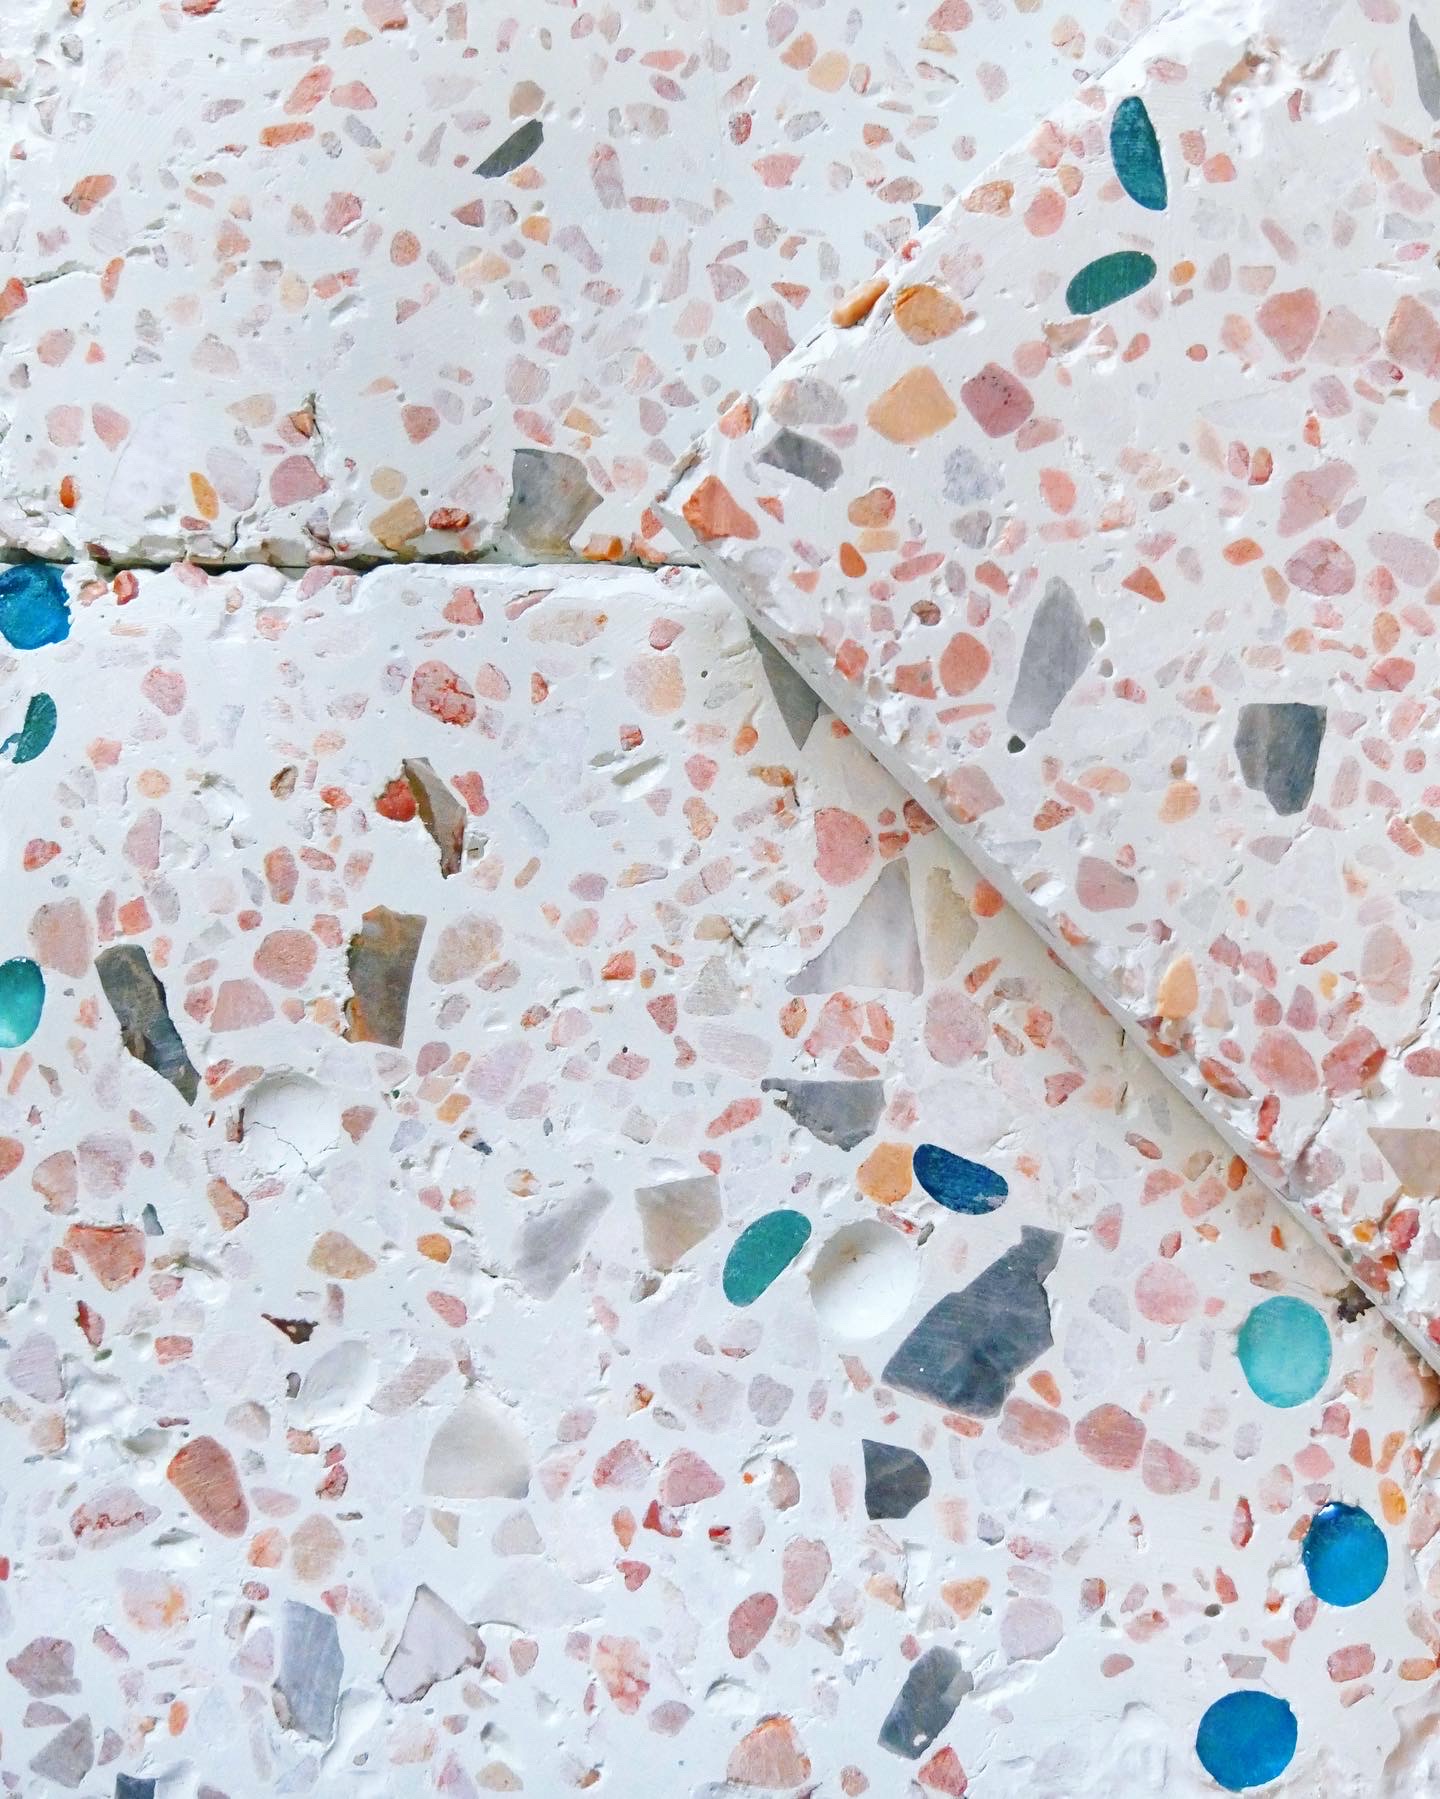
10. Use your grinder to wear down the tiles top surface, exposing your pretty aggregates for that lovely terrazzo finish! Move slow and steady with the grinder, rather than moving it over the tile quickly… I think of it like using a hair straightener! 🙂
11. One you’ve sufficiently ground down the tile to your liking, brush away the all dust on its surface in preparation for sealing.
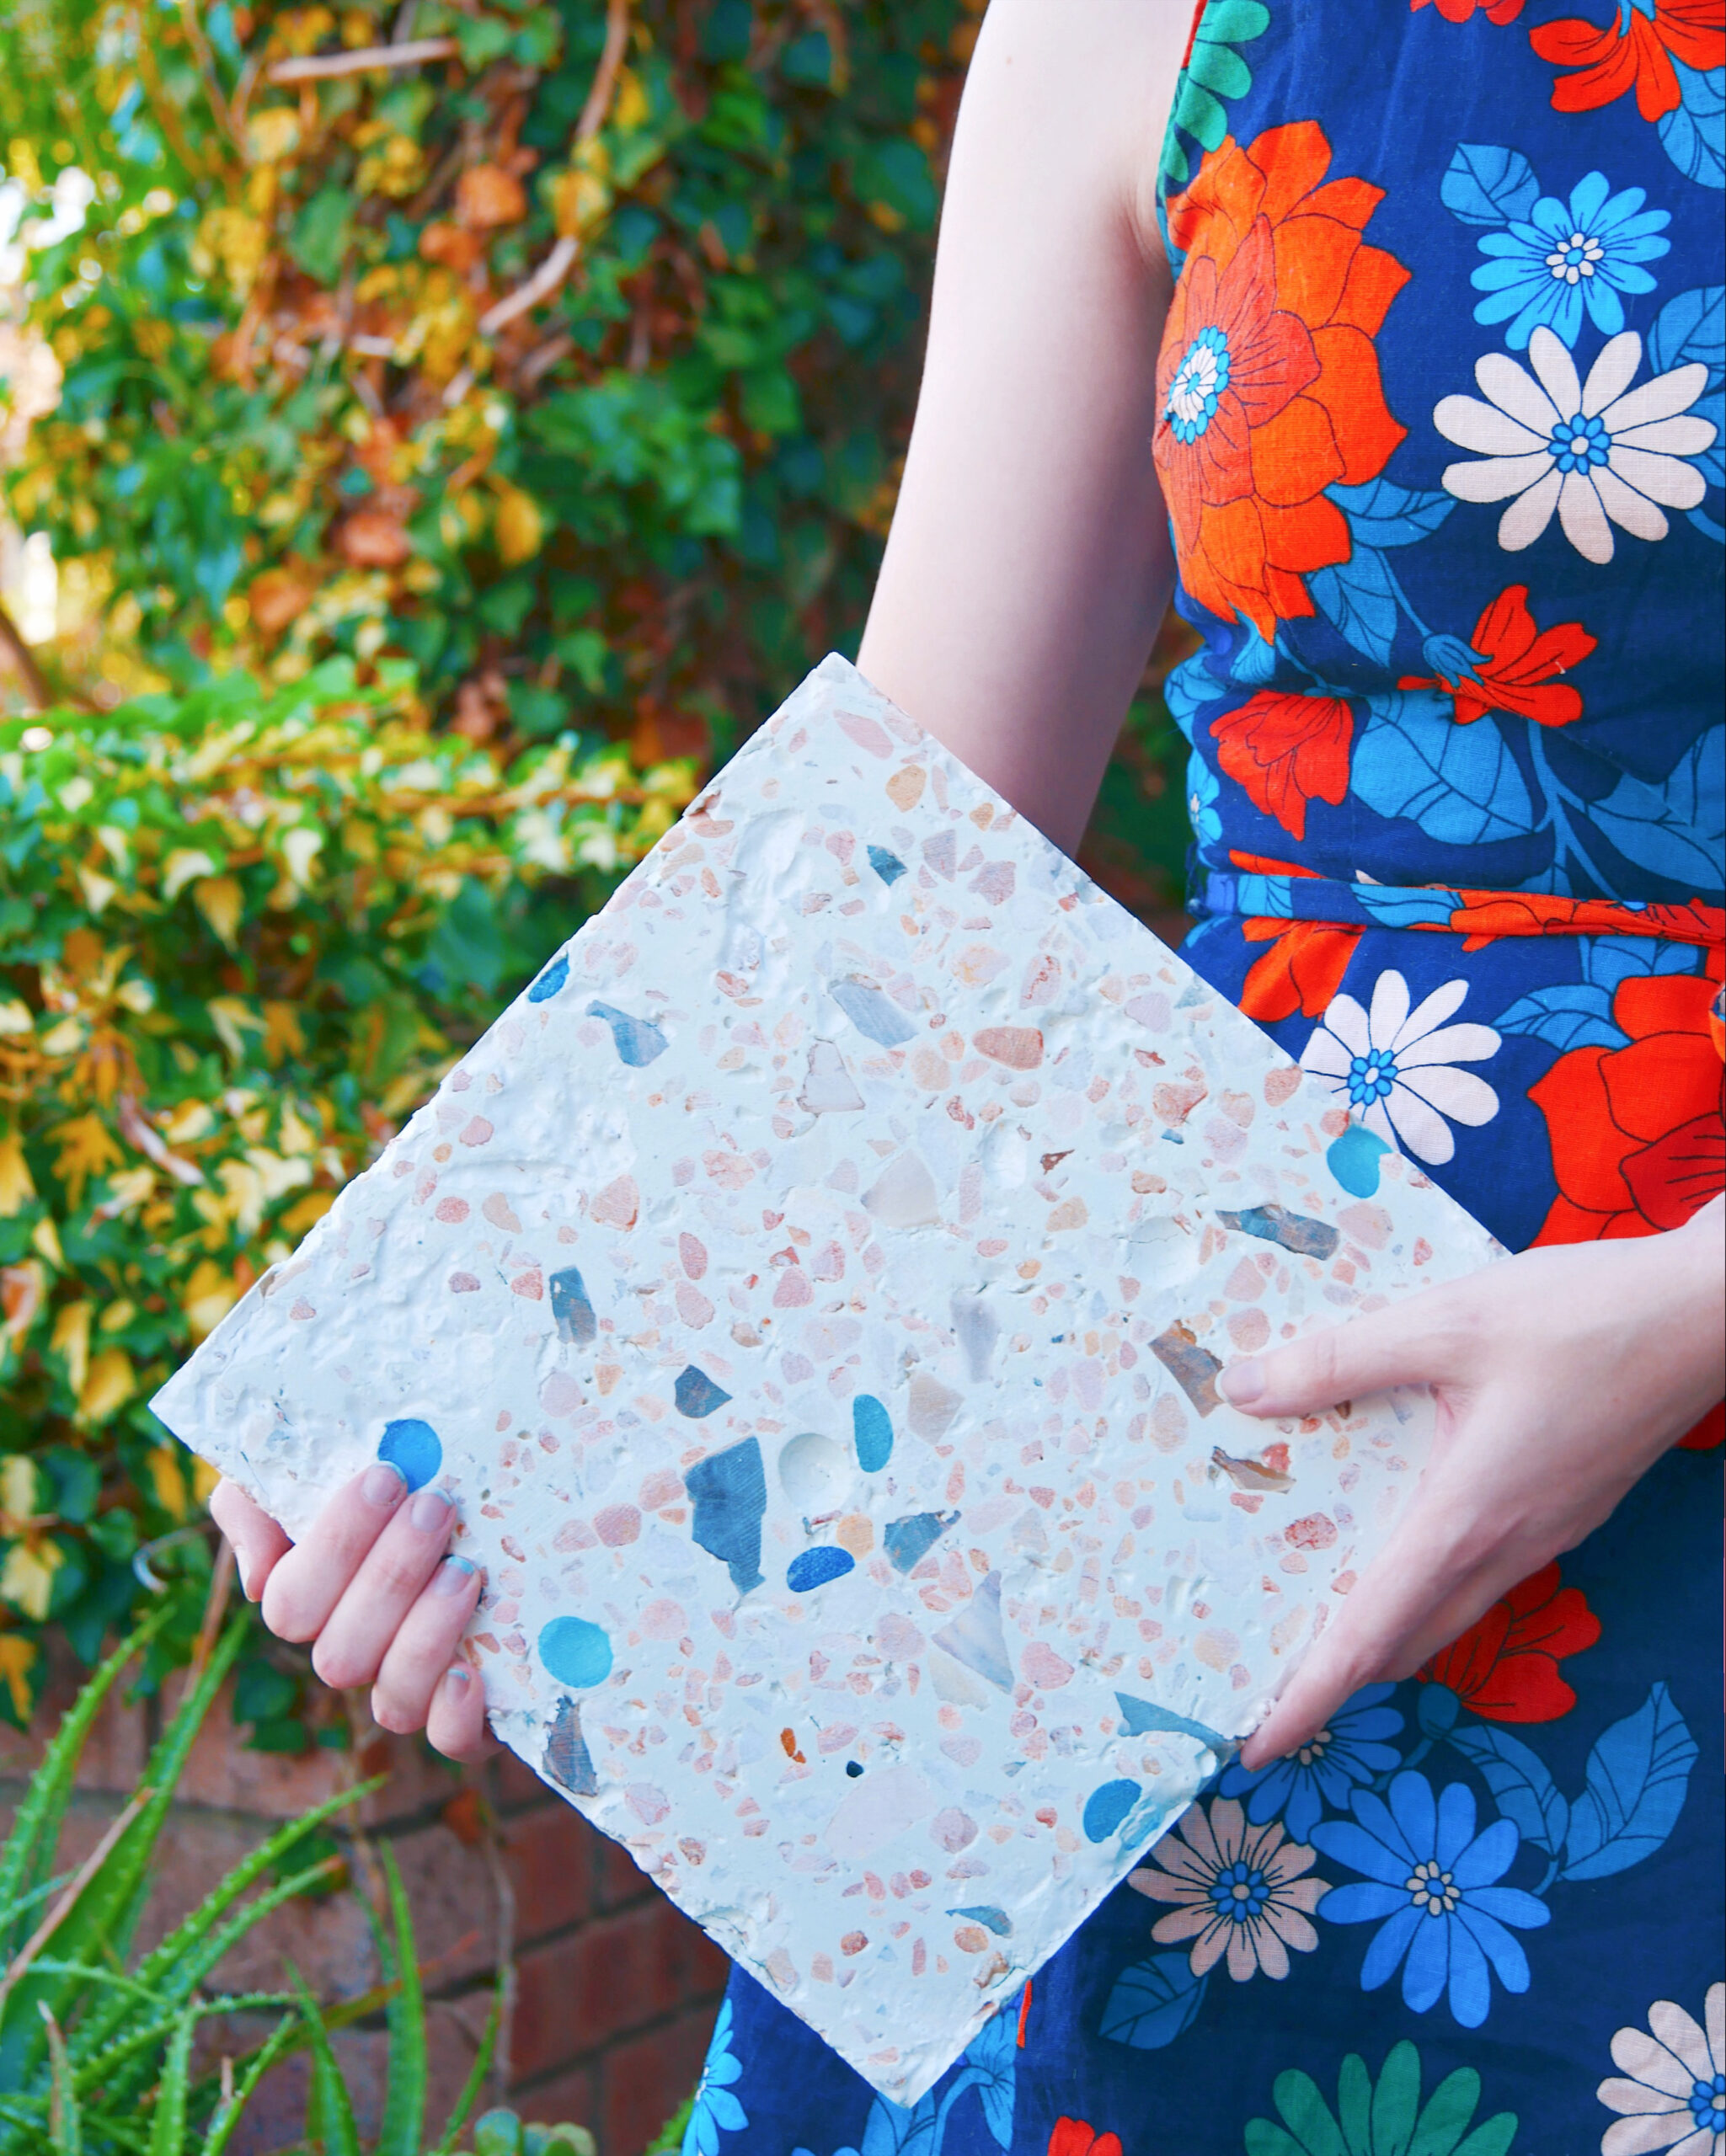
12. To finish your tile off, apply paving sealer with a brush… And be amazed as it comes to life with a coat of shine! Follow the instructions for the sealer you have purchased in regards to drying time between coats/how many coats to apply.
And thats it, you’ve made your first terrazzo tiles! I’d love to see how yours turn out, if you give it a go send me an email or an Instagram DM to show me the results! I have some grey cement and some new aggregates sitting in my workshop ready to go for my next batch… I’m thinking that will be a project for this weekend, so expect to see more DIY terrazzo goodness soon.